Wednesday, November 13, 2013

AN Monday: Pink or Purple

   It's that time of the week again: Aussie Nails Monday! Though I am a day late :P The theme for this week was pink or purple, and of course, the purple sucker in me chose purple. I decided to go with my first ever BIG lemming: Gloss n Sparkle After School Special.

   I used two coats over a Max Factor deep purple polish I unfortunately don't know the name of (I accidentally ripped the label off of a long while ago *oops*), and also used Femme Fatale Eventide for the glitter gradient on my middle finger.

   Unfortunately, today was a bad day for photos, so this is the best I got with my S4 camera phone. Hopefully next AN Monday, I can spam you with tons more pictures!

   But do feel free to check out the AN Monday manis by the other girls - you can find a list of them here.

Tuesday, November 12, 2013

NOTD: Neon Gradient + Watermarble

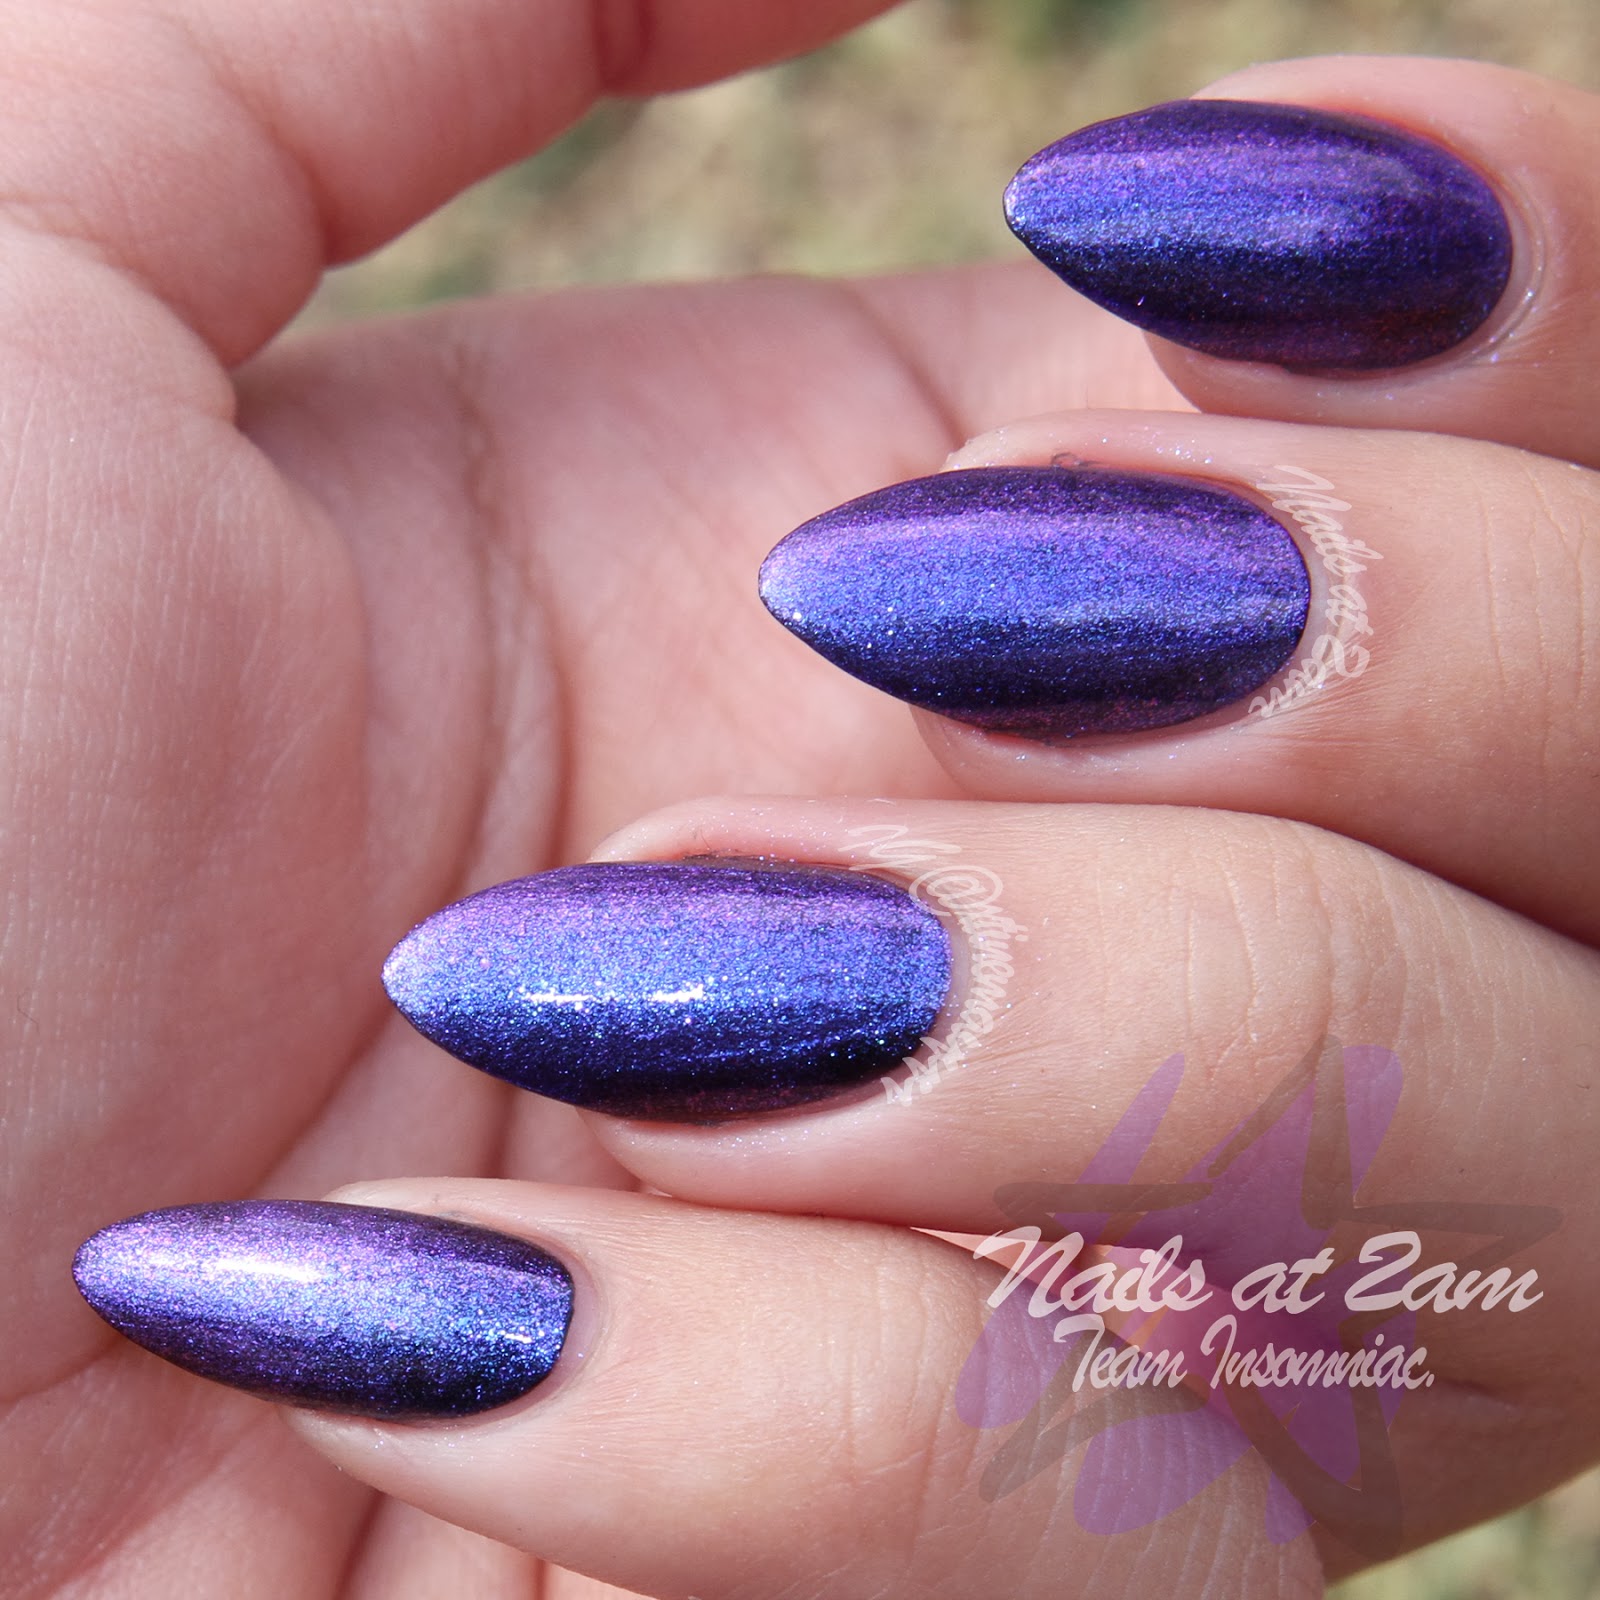
   ♫♪ I can't sleep at night, when you are on my mind ... We belong together babyyyyy~ 

   Anyone listen to old school Mariah Carey? :P I found a playlist of old school songs in a folder on my laptop and now I'm getting sidetracked and instead find myself singing along (trying to) with whatever lyrics I remember - it's a tad hard writing this post with impulses to sing every 2 seconds ♪Your lips, your smile, I love it when you kiss me baby (next track - Mesmerized Ja Rule).

   Okay. Anyways. I put the volume down, maybe that'll help - and here I thought I was good at multitasking. SO. NAILS. This neon gradient is by far my most fave! From a lime green to a medium blue to bright pink  (Tony Moly P004, Australis Sky's The Limit and #totesamaze) - it just screams Summer. I was so tempted to leave it as is, cos come on, just look at it, it's so stinkin' cute! :P 


   As for what to layer on top of the gradient, I had a couple of ideas: waterspotting, black tribal pattern, or I could have taken the lazy way out and just added a glitter topper... but I was feeling adventurous, so I gave water marbling a go. Just as an FYI, water marbling and I do not mix well: I attempt it, I fail miserably, I try another 10 times, and finally, successfully marble 1 nail - ONE nail. This little escapade wasn't any different, just my left hand took at least an hour and a half! 


   And the bubbles! Damn the bubbles! I pull my finger out of the water and there are air bubbles in my water marble - it drives me nuts! What am I doing wrong?? ): What I did to try and salvage them, without having to redo the gradient and the marble, was to pop the bubbles and paint over it with a small brush and black nail polish. You can sort of see in the photos where the black is slightly darker - that's where I painted over :P

   Buuuuuuuut... the results are just so pretty, I don't mind facing off against my arch nemesis every now and then.


   So water marbling is my love/ hate relationship, what's yours? 

   ALSO, NAIL MAIL :P Swatches of these will be up on the blog within the week ♥

Saturday, November 9, 2013

ANNOUNCEMENT: Nails At 2am Facebook Fan Page

   YES! I finally did it and created a facebook fan page! It took a little encouragement, and a lot of procrastination, but it has now finally become a reality.


   So the page is titled "Nails At 2am" naturally, and can be found at https://www.facebook.com/NailsAtTwoAm note how I had to use "TwoAm" instead of "2am" - I'm still raging about that grrr! AND it is looking REALLY bare, but once I get some more time on my hands, I'll be sprucing it up, and hopefully creating a new banner for the facebook page and my blog - and maybe even a new watermark image.

   In all honesty, I spend a lot of my time on facebook.. sooooo I'm hoping that by joining me on facebook, I can be a lot more interactive with you guys, get to know each other better, and I'll reply to your comments a lot quicker! :P Also, if you don't have instagram and can't tag me in your photos, you will be able to share your manis that are inspired by me, or based off of a tutorial I've created, on the facebook page.

  At this current moment, I've just only posted my Neon Leopard Print Tutorial onto the page, but do please check it out and like the page :D Hoping to see you all over there! <3

NOTD: Neon Leopard Print + Tutorial

AND BAM! 
Back to neons *grin* 


   My mini breakdown over pastels and neons in my last blogpost (and a little "Who are you, and where is Christine?!" comment from Kirsty over at Nail Cake) I'm back to sporting neons. This gradient is more eye catching then I'd imagined.. I even thought it may have been a little too bright, but really, who am I kidding?! :P 

   I used Ulta3 Tangelo, W7 Fuchsia and Kleancolor Neon Amethyst for the gradient - you can just barely see the purple tips in the photo. Though I LOVED these as they were (gradients are always a good go-to when lacking inspiration) I was craving more "pop". And hence, these:


   REOWR! I used a dotting tool to add the spots and the golden rectangle accent stud is from the bornprettystore online. A slick of top coat to seal everything in and my fingers were ready to blind and amaze! :P

   I also put together a quick picture tutorial:
What you'll need:
Base Coat / Top Coat
White / Black Polish
3 Neon Polishes
Dotting Tool
Make Up Sponge
Stud (Optional)

   1. Start off with your favourite base coat, then one to two coats of white (depending on opacity). Mine is one coat of Sinful Colors Snow Me White. Wait a few minutes until the white is at least touch dry.
   2. Sponge on your neon gradient. I used Ulta3 Tangelo, W7 Fuchsia and Kleancolor Neon Amethyst in that order. Optional - seal off with a fast drying top coat, in my opinion this makes the gradient blend better.
   3. With your dotting tool (or anything similar, a bobby pin, a toothpick), create 'spots' using alternating colours as the background - i.e. orange spots on the purple tips, pink spots on the orange half etc.
   4. Again with your dotting tool, add the black leopard accents on the spots, also adding the smaller leopard spots in the spaces in between.
   5. Seal everything off with a top coat, and et voila! ♥
   6. Optional - keep an accent nail spot free and add a golden rectangular stud. 

   Also remember you don't have to stick to the colours I used - I dare y'all to use some neon yellow, or neon blues or greens!) and if any of you do do a mani like this I'd love to see it, so tag me on Instagram (@xtinemayyy) or leave me a comment here and I'll go check it out.

   OR..
   You can share it on my facebook page! Yes I now have one - and I'll make a separate blog post to announce it later of course. Just search Nails At 2am on facebook or go to https://www.facebook.com/NailsAtTwoAm 

   And just as a little side rant... I hate the fact I had to use "TwoAm" instead of "2am"!!?!?!?! 

   Anywayssss :P I hope you'll continue to support me over on facebook as well :D

Thursday, November 7, 2013

NOTD: Pastel vs Neon

   Mornin' all! You should all know by now that I have quite a soft spot for neons, but occasionally, my love for for them is diverted to pastels. I just can't help myself, the colours look so pretty in their bottles! One such colour is a new found love: Essie Mint Candy Apple. I paired it with Ulta3 Lilac Bloom and Sinful Colors Black on Black to create this pastel floral design.


   Though I did like it, I felt a little underwhelmed... the colours looked a little washed out ): Also, it is almost Summer here in Australia, so I think I was just subconsciously craving for something brighter! So I pulled out Emily De Molly Flurocious, Australis Peek-a-boo and #Totesamaze and a few golden nail studs to create a much brighter floral mani, with glitter too!


   I like this much better :P but then again, I am a sucker for bright colours. Which do you prefer? Are you a pastel person, or a neon lover like me?

Tuesday, November 5, 2013

AN Monday: Blue or Green

   Hey y'all! :D So the theme for this month's AN Mondays, is Aussie Indie Month - showing our love for all the Aussie indie brands that support our polish addiction :P My Indie collection is only at about 30 bottles and only half are Aussie, but I'll try and make do with what I have! First up is "Blue or Green".

   For someone who's a total purple junky, surprisingly, almost half my Aussie indie collection is blue! So I threw them all on the table and picked one at random :P 


   This gorgeous little number is Emily De Molly When Planets Collide. This is 2 coats layered over 1 coat of Revlon Royal. Though technically, from what I can see, it's actually a black jelly base, but it's so filled with blue glitter I classified it as blue :P !

   I also tried for some nail art using BYS Diamond Glitter Opal, Max Factor Royal Blue and some striping tape.


   Aaaaaand, I also have the last two weeks' AN Monday combined into one mani: Graveyard/ Your Choice, to finish off the October Halloween Month. Fingers crossed this month I'm on time with all my AN Mondays! :D

Monday, November 4, 2013

NOTD: *shrugs*

   Hello there lovelies ^^ Hope everyone's had a great start to November! My goal for November is to continue this flow of blog posts that I've successfully upheld throughout October - hopefully another 2 month hiatus is never going to happen again or at least far from the horizon! 

   And of course to think of other ways to engage with you guys, I know NOTD posts get a tad repetitive, so I'll try push out more than just that this month :D I was also thinking of starting up a facebook page, would any of you be willing to follow my posts on there as well?? 

   So, back to the reason we're here... NOTD: I have no idea what to call these. Yes, that's what I've called them, unless y'all have something a little more creative? :P


   I used Sinful Colors Endless Blue (I think I've used this in the last 3 or 4 manis!! It really is my go-to-blue), and Ulta3 Citrus for the coloured panels, and Sinful Colors Black on Black for the outline and triangle accents. My lines are kind of wonky, but the studs take the attention away from my shaky handwork :P 

This design actually makes my nails look more rounded than almond/ stiletto shaped. Makes them look heaps shorter too =S They're also a little underwhelming, so I didn't really wear them for very long (took them off an hour later :P) but that just means... more nail art to look forward to tomorrow!


Friday, November 1, 2013

NOTD: Ikat Hearts

   HI GUYS! A PINCH AND A PUNCH FOR THE FIRST DAY OF THE MONTH! *pinches* *punches* :D Now that that's out of the way... NAILS!


   Oh how I've missed doing an ikat pattern - I just love how it can look messy, but look good looking messy! The ikat heart is one my most fave designs, I could never grow tired of it.

   I bought Essie Mint Candy Apple a couple weeks back, and had yet to find a mani to use it in, until now. Thought the baby blue would be the perfect background for some cutesy ikat hearts :P For the actual hearts themselves, I used W7 Fuschia (my new favourite neon pink!), Ulta3 Spring Break (my new favourite purple!) and my ever faithful Sinful Colors Endless Blue. 


   The golden heart stud and the black round studs are from here on the BornPrettyStore website. You get 3 wheels of various shaped/ coloured studs, and therefore are open to a bunch of new combinations when doing nail art. I'm slowly hoarding all the studs! :P I have a 10% discount code if you do end up purchasing anything on their website - just type in XFSQ10 at checkout!


NOTD: Neon Aztec Print

   Hey y'all! *waves* And a Happy Halloween to those who celebrate it! :P Halloween's come and gone here in Australia, without much festivity unfortunately. So instead of rockin' a gruesomely awesome costume at a party and eating halloween-y foods and dancin' til the sun comes up, I'm here at home doing my nail thang - but that I'm complaining.. too much :P haha

   ANYWAYS. Bright. Neon. Aztec nails for you all today! Ever since I swatched Rainbow Honey Magic Cake, and did the aztec accent nail, I've been itching to make a whole mani out of it... and now I have :D *woop woop*


   I based the colour scheme on the neon glitters used in Rainbow Cake which were so fun and worked well together. I used Sinful Colors Endless Blue, W7 Fuschia and BYS Steal The Limelight for the coloured panels, and outlined everything using Sinful Colors Black on Black. 


   I loved these so much, I kept them on for 3 days :P Everyone at work thought they were stickers and that my nails were fake haha. But I do have to admit, IM PRETTY DAMN PROUD that I've kept my nails at this length for this long! *knock on wood* Last time I had long nails like this was last year, and since then they'd just kept breaking. It might be the strengthener I'm using, might be my nail care routine, might be the fact I have polish on 24/7... or I've just been lucky :P


Tuesday, October 29, 2013

New Aussie Indie Brand: Moonstone Nail Polish Swatches + Review

   Hello, Hello, Hello! So for those of us who love our Aussie indies, there's a brand-spankin'-new brand that's entered the scene: Moonstone Nail PolishAND it releases today!! Tuesday 29th October, at 9am AEDST - that's less than 7 hours away! *Hurray* The person behind it all is Caitlin Vine - a 20 year old girl with a love for mixing polish (and love potions too! :P haha Any Potterheads here?!) I was approached by Caitlin (@caitnails on Instagram) a couple of weeks ago to do some swatches for her, and I gladly accepted ^^


   The first collection for Moonstone Nail Polish includes 8 polishes, 2 of which I have to show you all today. Somehow, Caitlin knew (or by a lucky coincidence :P) my favourite colour was purple, and both the polishes she sent me were purple toned, and sparkly! First up is Radioactive. It's a violet shimmer, with a subtle pink to blue colour shift. 


   It can easily be worn on its own, and is opaque in 3 thin coats. As it is quite sheer, and requires multiple coats for complete opacity, be sure to wait a bit for each coat to dry before applying a new coat or you'll end up with bald spots - like I did in my impatient first attempt. 

   Though, since I AM a sucker for colour shifters, with my second attempt at swatching it, I opted to layer 1 coat of Radioactive over 1 coat of black, to intensify the shift. And this is the end result:


   ....purple, colour-shifty-goodness! It's quite soft and subtle, but very pretty nonetheless! 


   The second polish I have to show you all is one that took my breath away when I first saw it. Even just sitting in the bottle it promised such awesomeness. Dark Shines is a blue-purple jelly filled with shiny, sparkly, holographic goodness. Caitlin describes it as: "A blurple jelly jam-packed with deep purple holographic flakes with a blue shimmer."


   Again, as with Radioactive, it's easily buildable in 2-3 coats for opaqueness, but I chose to layer it over 1 coat of black. It does dry to a semi-textured finish, so it will need a generous coat (or two depending on your topcoat - I use Revlon Colorstay and needed 2 coats) of topcoat to smooth it out.

   It is absolutely stunning in the sun - all the tiny holographic particles come to life and dance at my fingertips. This to me, is like a blurple version of Ulta3 Triple Threat, or Butter London Black Knight, and I just love it when dark colours have that little bit of sparkle in them, giving them a bit more character... AND they look great when the light hits them!


   That's 2 of 2 that I have to share with y'all, so now if you are interested in getting your hands on these, or are curious to see the rest in the collection, make sure to head on over to their store Moonstone Nail Polish, and have a gander. They also have an Instagram account (@moonstonenailpolish) that you can follow for all their updates, and swatches. 

So which of the two is your favourite? For me, as much as I LOVE colour shifters, I'm obsessed with anything dark purple that sparkles in the sun :P so it's one more picture of Dark Shines for you all.